As many of you know, I’ve spent the last 6 to 7 years working as a Solutions Engineer in the dynamic world of SaaS. One of the most fascinating aspects of this role is its inherent variability, not just across different companies, but even within the same organization. Today, I want to delve into how the skills honed in one Solutions Engineer role can be effectively transferred and leveraged in another. Ultimately, many of the core responsibilities and required knowledge overlap significantly.
Please remember that the content of my blog posts reflects my personal opinions and experiences, and should not be taken as definitive truth.
Laying the Groundwork: Defining the Role
First, let’s establish a common understanding. What exactly does a Solutions Engineer (also known as a Sales Engineer, Implementation Engineer, or Integration Engineer) do? Despite the variety of titles, the core objective remains the same:
To help clients understand how a product works and how to seamlessly integrate it into their existing systems.
While your sales counterparts have already articulated the product’s value proposition, your focus shifts to demonstrating the ease of integration and use compared to competitors.
The importance of a technical background: Having technical knowledge—particularly about APIs, how integrations work under the hood, and how products are built—is a game changer. Being able to speak the tech and product language goes a long way when creating timelines and answering technical questions.
Now, let’s break down the process of achieving this. Please note that this post provides a high-level overview, and I intend to publish more in-depth articles on each step in the future. I will link those posts here as they become available.
Quick Note: The following steps are based on a typical client journey within a SaaS company.
Step 1: Deeply Understand Your Client’s Needs
At this initial stage, the intricacies of your product and its features take a backseat. You’re likely in the second or third meeting that your Sales colleague has had with the client. Your primary objectives here are threefold:
- Understand your client’s current solution: Are they relying on spreadsheets? Utilizing another system? Gaining clarity on their existing infrastructure is crucial.
- Understand your client’s main goals: Why did they contact your company? What specific problems are they hoping to solve with your product?
- Understand your client’s technical capabilities: Who on their team will be responsible for implementing the solution? Will it require developers? What is their team’s availability? If not developers, who will handle the backend configuration?
By focusing on these questions, you lay the foundation for a successful engagement.
Step 2: Crafting Tailored Solutions
This is where the information gathered in Step 1 becomes invaluable. Your goal is to design and present the ideal solution for your client. Key components of this presentation should include:
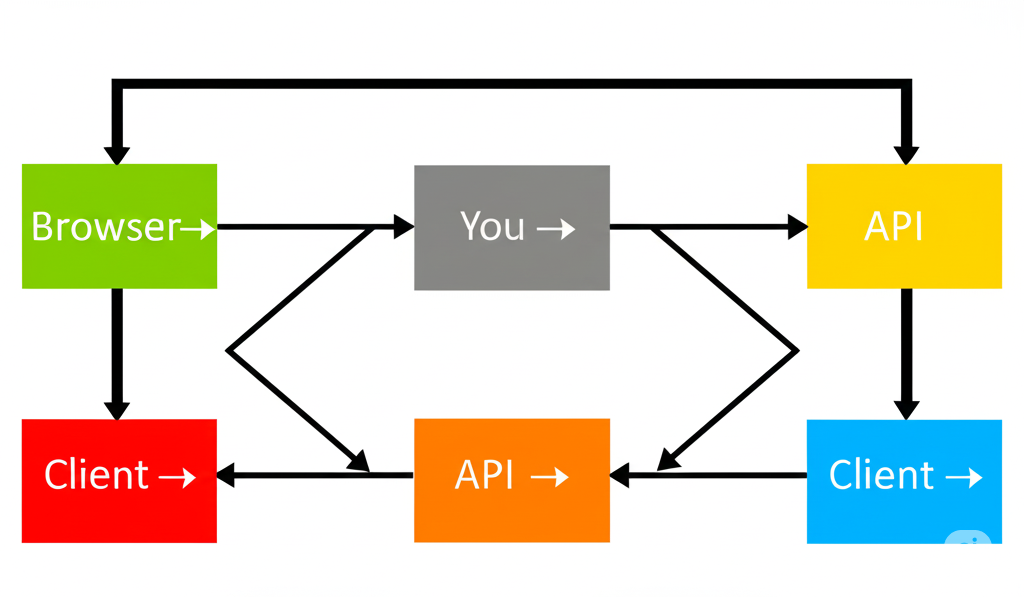
- Data Flow: I find visualizing the data journey incredibly effective. Clearly illustrate where the data originates and its destination within the integrated systems. Aim for a visual representation that is easily understandable for both technical and non-technical stakeholders.
- Technical Data Flow (API Only): This can be a more granular breakdown of the general data flow, specifically focusing on API interactions. Be precise about how different components will integrate. Pro-tip: For less complex flows, consider including potential corner cases, such as payment failures, to demonstrate thoroughness.
- Timeline & Milestones: I prefer to present these together. For example, “Week 1: API Authentication,” “Week 2: First Data Request,” and so on. While the specifics will vary greatly depending on the platform, the underlying structure remains consistent. Clearly define the key milestones and the expected timeframe for their achievement.
While elements like support and system SLAs, infrastructure details, and security protocols can also be included, focusing on these three core components will provide a solid foundation for your presentation. Your client will gain a clear understanding of how your product works and the steps involved in integrating it into their environment.

Step 3: Supporting the Implementation Phase
Let’s envision a successful scenario: you’ve delivered a compelling solution, your sales representative has highlighted the product’s value effectively, and the client has chosen your company as their provider. What happens next?
This is your opportunity to truly shine. Your primary responsibility now is to ensure a smooth and efficient go-live process for the client. Here’s my recommended approach:
- Create a Shared Statement of Work (SOW) or Utilize a Platform like Dock: Clearly outline the necessary steps for a successful go-live. This document should include:
- Timelines & Milestones (reinforcing what was presented earlier)
- Technical Data Flow: Include comprehensive diagrams, potentially multiple flows for different scenarios.
- Link each data flow with relevant API requests or technical requirements.
- Establish a Shared Instant Messaging Channel: Utilize platforms like Slack or Microsoft Teams to facilitate quick and efficient communication. Having a dedicated space for questions and updates is crucial.
- Schedule Constant Checkpoints: The frequency of these check-ins can be adjusted based on the deal’s complexity, but weekly checkpoints are generally a good starting point.
- Monitor & Communicate Proactively: Keep a close eye on the client’s integration progress. Review logs, and if you identify potential issues or incorrect implementations, proactively reach out via the shared messaging channel to offer guidance. Stay on top of the integration.
Step 4: Achieving a Successful Go-Live
Receiving the message “We are ready to go live!” is always a rewarding moment. However, thorough due diligence is essential. Here are my key points for a successful go-live:
- Test, Test, Test: Rigorously test all defined scenarios in both sandbox and production environments.
- Monitor & Communicate (Version 2): As the client goes live, ensure you have mechanisms in place to monitor system performance. Mirror your proactive communication from the implementation phase. After the first successful transaction, send a message like: “Hey team, we just saw the first transaction come through successfully on our end! Can you please confirm everything looks good on your side as well?”
- Share Next Steps: The handover process will vary from company to company. This might involve transitioning the client to a dedicated support team, a Customer Success Manager, or both. Document all key aspects of the client’s implementation to ensure a smooth handover and allow you to focus on new engagements.

Final Thoughts
That’s it! This were my takes on how to have a successful onboarding, I have so much more tips and I could go a lot deeper in each step, but as I mentioned above this will be in other posts.
I hope you enjoyed being here with me and that I could bring some new information for you.
As always, if you want to chat, don’t forget to reach out
